


Looking to make your distribution list a little more collaborative? Want to manage group email with a team? We’ve got you covered.
Trying to change your distribution list into a shared mailbox? Look no further: we’ve got you covered. But first we’ll note: this is not a simple task.
Why? Email providers have been slowly trying to adjust to the more collaborative nature of today’s work. To keep up, Outlook added distribution lists, shared mailboxes, and Teams to its features list. While these changes have made it easier for teams to send and reply to emails, they’ve also come with some limitations—and converting a distribution list into a shared mailbox is at the top of the list.
Read on for a step-by-step walkthrough for how you can convert a distribution list into a shared mailbox. We’ll also show you how even with an Outlook shared mailbox, it’s not an easy option for managing email as a team.
Wait—can you convert a distribution list to a shared mailbox?
Technically, yes. But to even begin to answer this question, it’s important to point out the differences between shared mailboxes and distribution lists, and why the conversion process is surprisingly technical.
A distribution list is where people receive their own copy of any emails sent to the distribution list’s address. When replying to an email obtained through a distribution List, the reply is sent with the user’s email address. Email typically isn’t sent from the distribution list address like [email protected], but there is configuration you can perform to make this possible.
Or, the much simpler (and more collaborative) option would be to use a shared mailbox to achieve this.
A shared mailbox lets invited team members access emails together. Everyone with full access can read emails sent to the mailbox’s address and reply, forward, and send new emails.
As a shared mailbox gives everyone access, team members can also see emails that have been replied to and read replies that other members have sent. You’re all accessing the same list of emails, rather than each getting a copy of the same email.
Think of the two features like this:
Converting a distribution list into a shared mailbox isn’t a simple task. You essentially need to reprogram where Microsoft Office sends emails and who can reply to them, and the software doesn’t have an easy way to do it. So, how do you take an existing distribution list and turn it into a shared mailbox?
How to convert a distribution list to a shared mailbox
Let’s make this crystal clear—there is no native method to convert a distribution list to a shared mailbox in Microsoft Office.
Before we dive in, we’ll highlight that this is a key reason teams replace Outlook with Front: to make it simple to manage group email as a team. If you’re looking to help a highly collaborative team manage emails together, Front might be your best option over a shared mailbox.
Below, we’ll go over 2 options you can try for converting a distribution list to a shared mailbox. Warning: they’re technical. Alright. Let’s do this.
1. Using Microsoft Admin Console
Use this option if you’re less technical. You’ll need access to have Microsoft 365 admin permissions and access to the Microsoft Exchange admin center. If you’ve already got access to the Exchange admin center, you can access it by clicking here.
Then, log in to get started:
1. Update your existing distribution address
First, update your existing distribution address to a different address. This is important and necessary to do because it frees up your distribution address to be created as a shared mailbox. You can’t create one if it’s already a distribution list address.
2. Create the shared mailbox
Now, take the distribution address you just freed up. You’ll head over to create a shared mailbox and click Recipients > Shared > Add. There you can enter in the address and a display name for the shared mailbox.
3. Add team members and adjust permissions
Last you’ll need to get your people in the mailbox. Refer to the team members that are on the old distribution list and add them as members of the shared mailbox. To do this, you’ll click Add and then select the team members you want to add with Full Access or Send As permissions.
2. Using Exchange Management Shell
There’s a second, more complicated option, and you need to open up the hood of your Microsoft mailboxes and get coding in order to do it. Before you get started, you also need to make sure that:
✅ You have administrative rights
✅ You make a list of everyone’s email addresses in the Distribution List
✅ You know how to access the Exchange Management Shell and run commands in it
Quick note: If you don’t already have the Exchange Management Shell installed, you need to have it to make the conversion.Here’s a detailed breakdown of how to do it.All set? Let’s get started.
1. Launch Exchange Management Shell
First, access the Exchange Management Shell from your desktop menu to launch it.
2. Obtain the LegacyExchangeDN of the distribution list
Next, you need to get the LegacyExchangeDN of the distribution list you’re converting by running this command in your Exchange Management Shell
Get-DistributionGroup "DistributionGroupName" | Select LegacyExchangeDN
3. Delete the distribution list and create the shared mailbox
Once that’s done, delete the distribution group and create a shared mailbox. All you need to remember is the distribution list email you want to remake into a shared mailbox and run a command like this:
New-mailbox shareduser –shared –userprincipalname [email protected]
Replace the "mailboxname" with the SMTP mail address that was used by the distribution list. For example, if the distribution list was [email protected], replace the address in the command with the exact address you want your shared mailbox to use so Microsoft knows where to send the emails.
4. Add teammates to the mailbox
Then, head back to the Admin Center, select your new shared mailbox, and click "Manage Full Access Permissions." Remember that list you prepared earlier of everyone’s email addresses from the distribution list? Now is the time to add them to the shared mailbox.
5. Make it an x500 address
Finally, you need to make sure the new email address is an x500 address. So, open up your mailbox and click on the "email address" tab. Click the➕ symbol, select "custom address," and then:
Type the Distribution List’s LegacyExchangeDN: The value should look similar to this: /o=Organisation/ou=Administrative Group/cn= Recipients/cn=Username
Select the email type: Which should be X500 (not X.500, otherwise the emails will fail)
Click save… and you’re done.
So. Doing all of that is pretty complex. There’s no room for error. And one missed step or piece of code can throw all of your emails out of whack.
There are also limitations to using shared mailboxes in Outlook. Apart from having access to one mailbox, your team can’t collaborate on threads, move emails from the shared mailboxes, or automate tasks like sending canned responses.
That’s why many teams are avoiding this Outlook hassle altogether and are instead using Front to manage email as a team.
Why shared mailboxes fall short—and what you can use instead
Even with your sparkling new Outlook shared mailbox, the software remains the same. It’s still a traditional, clunky email platform that can slow down your productivity and make it difficult for your team to communicate with each other and your customers. Why? For one, there’s no real-time collaboration with Outlook.
Think about how teams are working together now. You might chat in Teams or edit drafts in real-time using Microsoft Word. With email, we’re working separately in silos.
If we transferred these collaborative approaches to email, we would be left with a tool that:
Gives your entire team a shared perspective on company communications
Makes it easy to collaborate by writing email drafts together, or tagging other team members to deal with a customer inquiry
Automates process using rules and to route emails to the right person
Microsoft Outlook’s shared mailbox can’t do any of these. And as you’ve seen by how difficult it is to convert a distribution list into a shared mailbox, it’s not easy for teams to adjust the software to their needs.
Enter: Front. Not only does Front have shared inboxes that provide total transparency, but teams can also collaborate in real-time. If they need to include a teammate on a thread, all they have to do is @ them in the comments below the email.
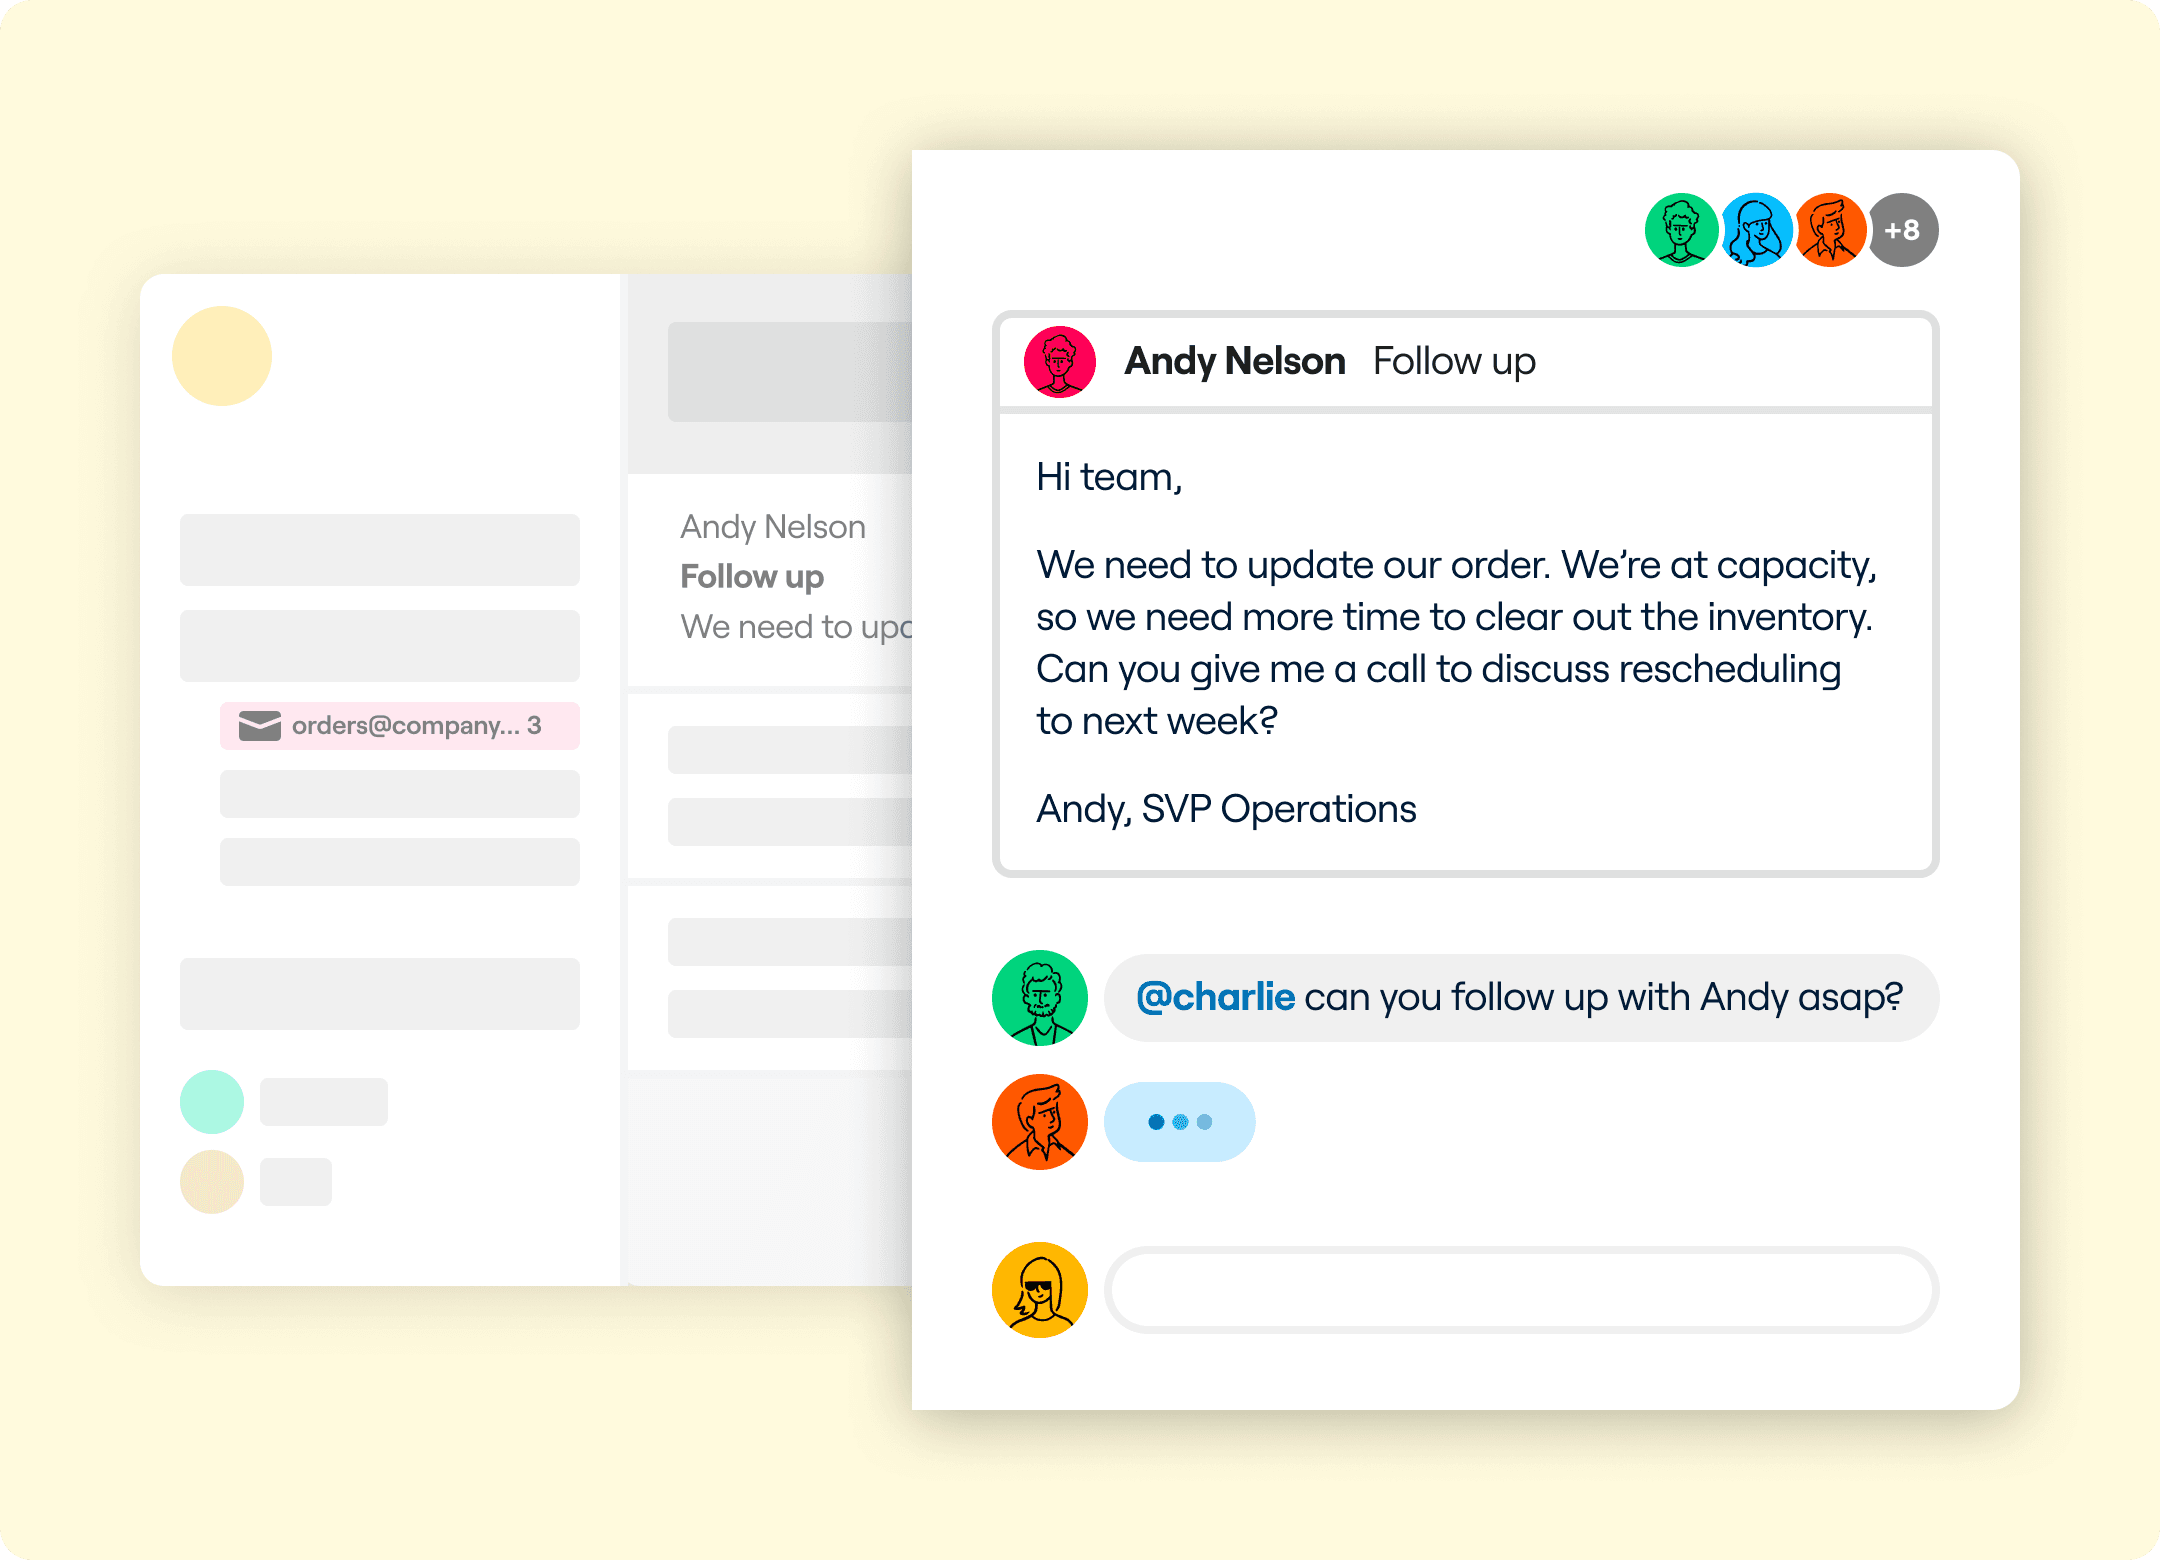
@mentioning teammates in a conversation is super handy as you can leave them private comments that, if you were using traditional email, you’d have to include in an email CC (which doesn’t always end well.) With Front, you can communicate with a teammate inside a thread and decide how to resolve customer issues or move forward with a project—together.
You can comment, @mention teammates, and edit drafts of emails together in Front.
Front also has another trick up its sleeve—rules. Rules allow teams to automate tasks that otherwise would require a real human. Tools like Outlook aren’t built for dealing with complex and customized workflows. Using Front’s rules, you can give your inbox a brain and empower it to make decisions without you 🧠
We’re talking about routing emails to the right people, replying to emails with a canned response (e.g., thanks for the job application!), or automatically tagging emails as urgent based on an email address. All you have to do is decide how rules will be used based on timing and conditions, like this:
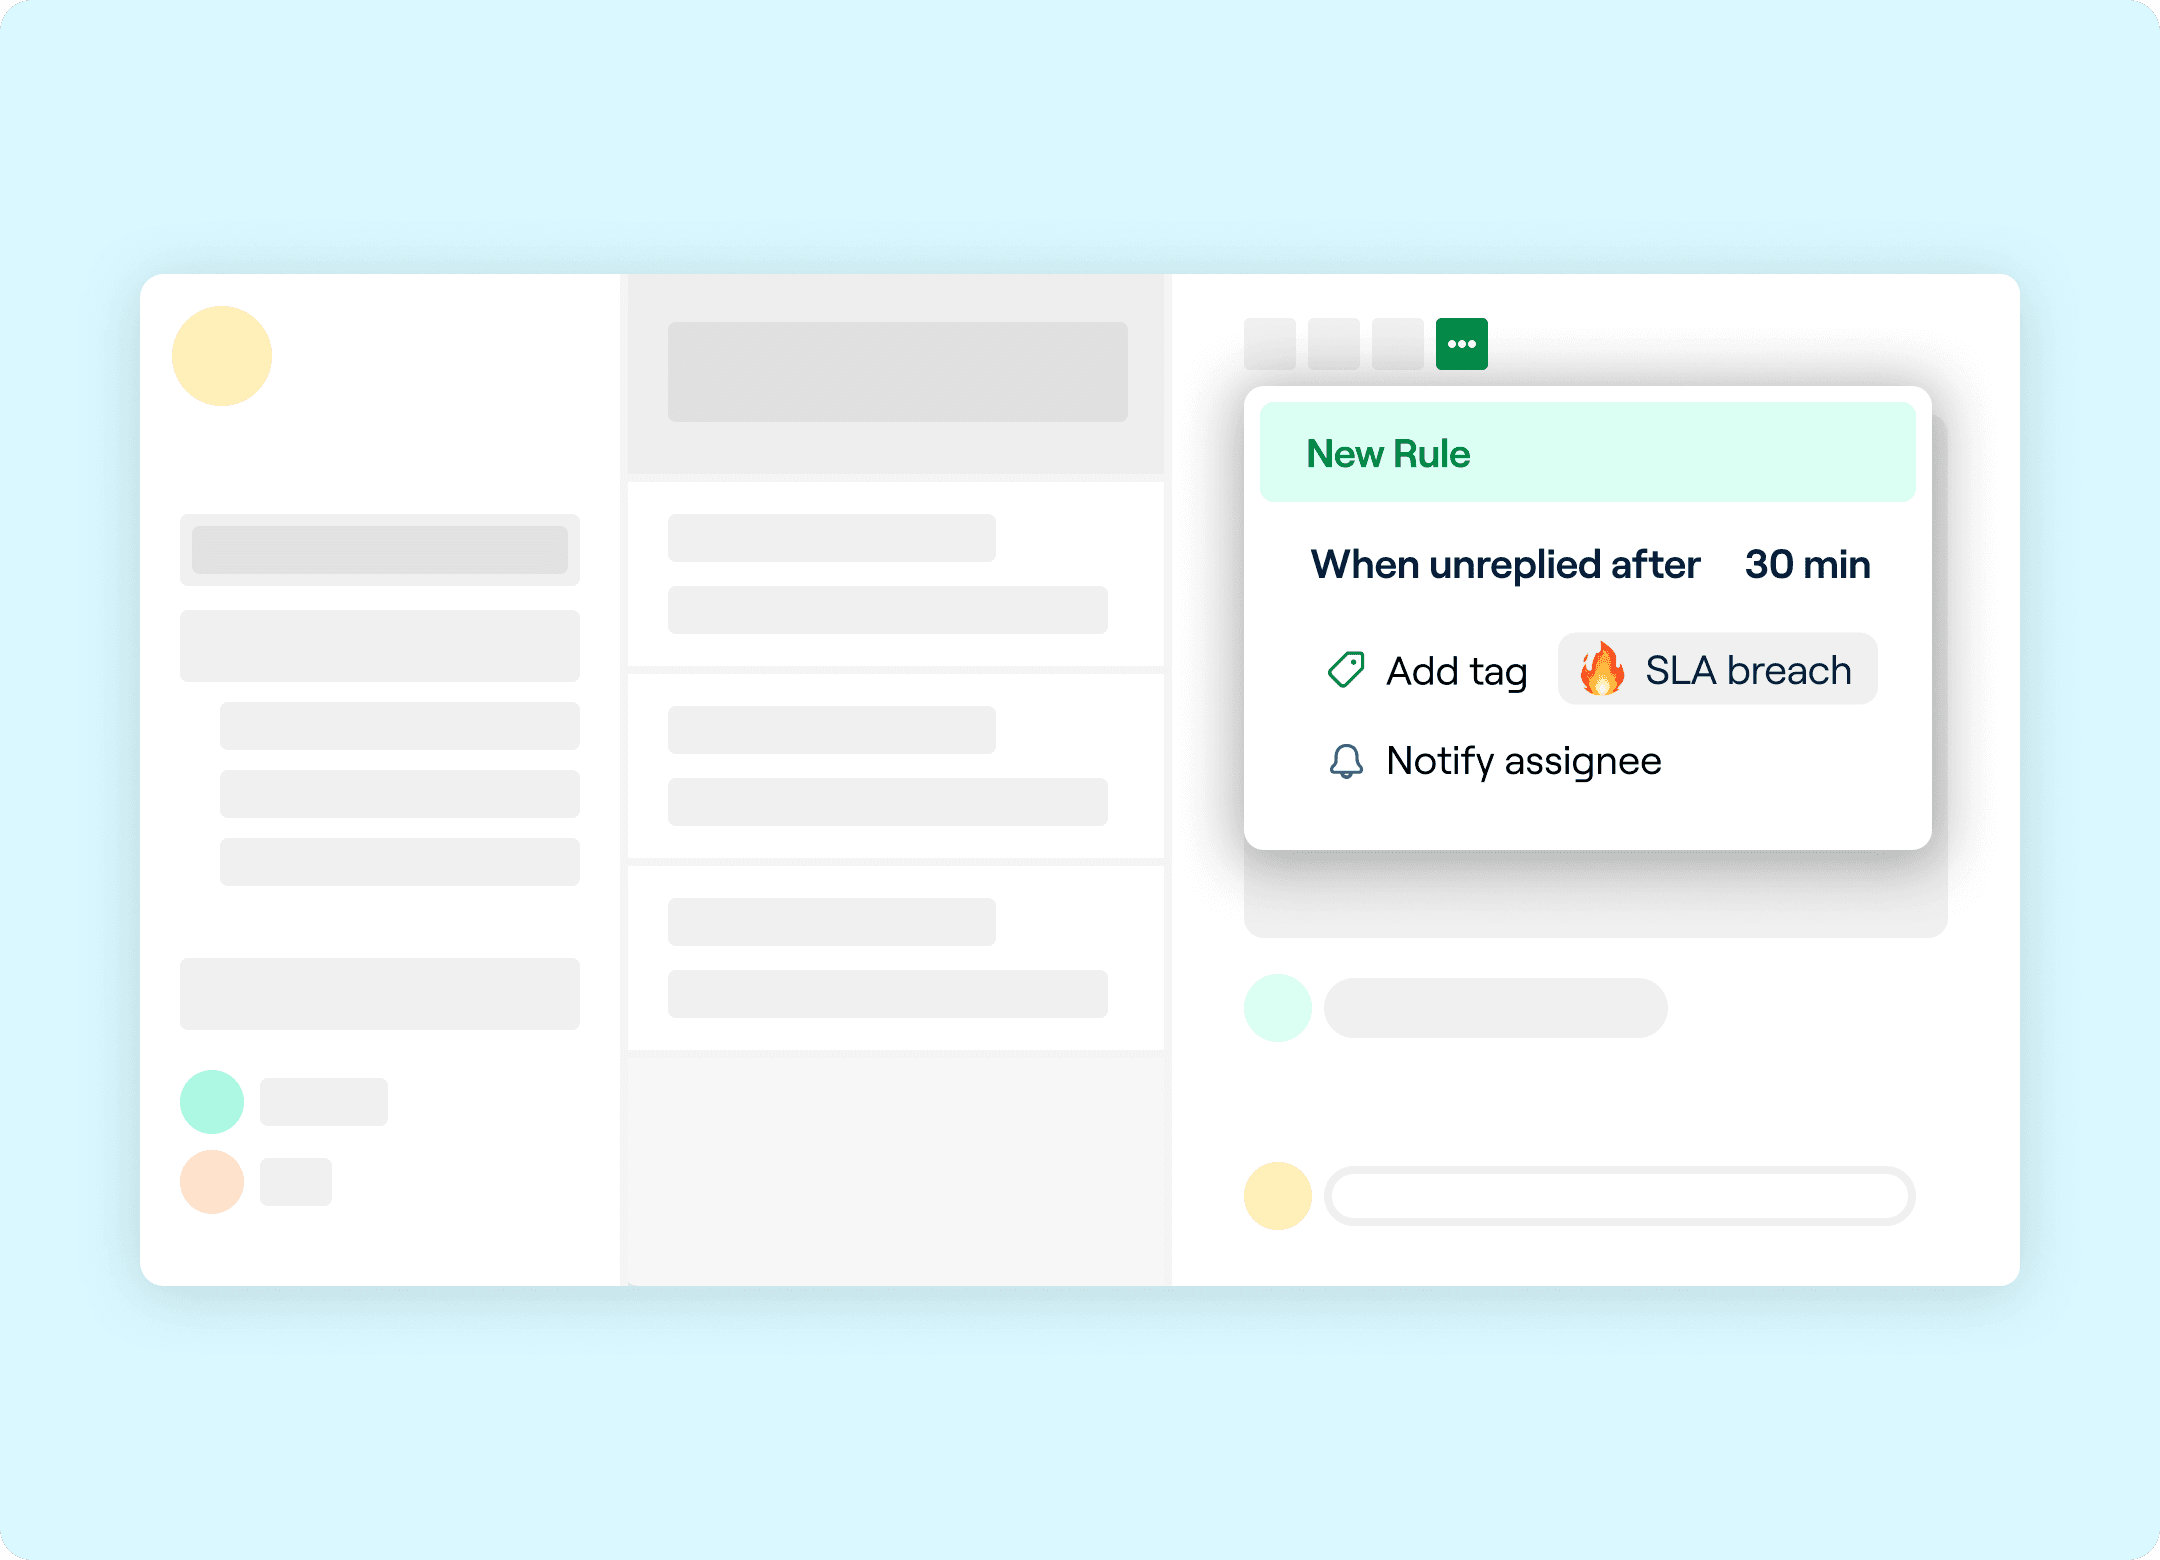
Rules allow you to automatically move emails, assign them to teammates, and more.
You can also create message templates to automate common messages you send out and snooze messages that don’t need to be dealt with right away.
Want to learn more about how Front can keep your inbox clutter-free, change the way your team communicates, and automate everyday tasks? Read why teams are using Front instead of Outlook.